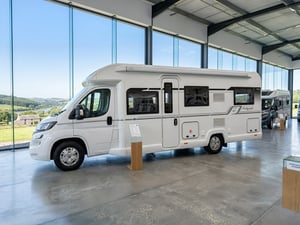
2018 Bailey Autograph 79-6 Motorhome — Video Tour (Part 4 of 5)

Published 28 September 2026 · 6-berth motorhome
6:29This video tour walks you around the 2018 Bailey Autograph 79-6, a 6-berth motorhome for sale through Motorhome Pig. This is part 4 of 5 videos for this motorhome.
Bailey of Bristol is a British motorhome and caravan manufacturer best known for Alu-Tech bonded body construction across the sub-3.5t Alliance, Adamo and Autograph motorhome ranges on the Peugeot Boxer chassis.
Mechanically it is built on the Peugeot chassis, with a manual gearbox, showing 10,071 miles.
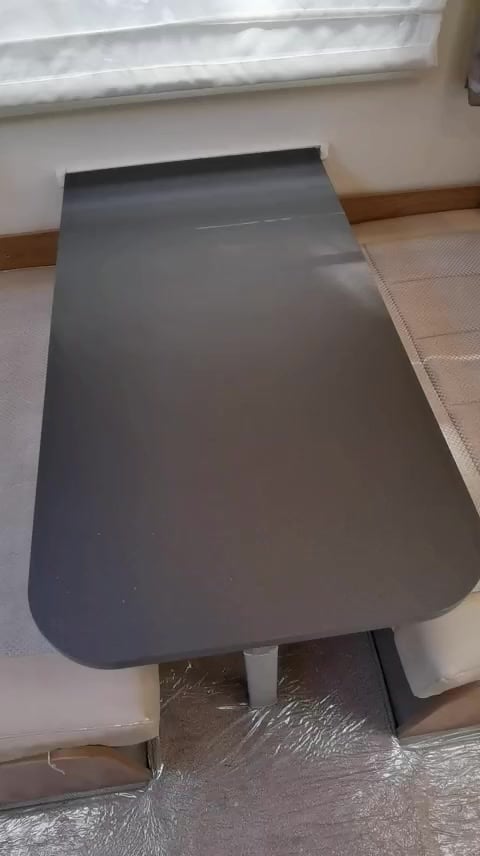
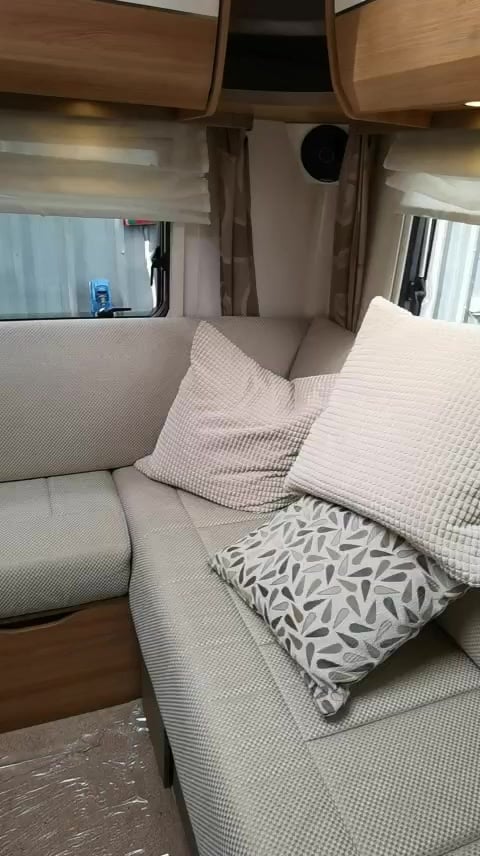
The video shows the living space, kitchen and sleeping areas — this layout sleeps 6 and has 6 belted travelling seats.
It is currently available at £50,000.
Watch the full walkaround above, then open the complete listing for every photo, the full specification and to arrange a viewing.
Video transcript
This is the handover video on the Bayley Autograph. We're going to go through your exterior apertures to begin with and then we'll go inside and show you the workings of the van. Starting with, just inside the passenger door here, we've got your bonnet catch which is just here. Underneath the hatch in the floor just here we have your engine battery location.
And just underneath this seat here, in behind this compartment, is your jack and wheel kit. Just here we then have your diesel filler using your ignition key to unlock that. And just below it, we have your add blue fill. Now your vehicle will tell you when it requires an add blue top up.
Further up the van here, just past the habitation door, we've got the gas locker. Now you've got space for two bottles in here and they can strap in with the straps provided. It's clockwise to loosen, anti-clockwise to tighten onto your bottle, opening your bottle with the tap on the top. And once you've opened up your bottle, you also need to push in this little green button to pressurise the system.
Just here we then have an external gas outlet. This will allow you to use your gas from the van to power an external barbecue. Next we've got these vents on the side. These are for your fridge.
Now your fridge works off of heat, so in any temperature at all, you want as much ventilation as possible. However, if you're planning on using your van during the winter time, you may find you need to get winter covers for these vents. Winter covers will cover over the vent to reduce your ventilation down. This allows your fridge to heat up in the back and in turn cool inside.
Now you may find that you never need winter covers, you may find you only ever need one cover, or you may find you need both. But I would certainly try it before you go and get these covers. Down here we have an external 240 socket, which provided you're plugged into the mains with the mains cable on the other side. This will allow you to plug in an appliance on this side.
Just here we then have your garage locker, loads of storage space in there. At the back of the van you've got a tool bar and electrics. However, these are not part of your MOT check or your pre-delivery inspection. So if you're planning on towing anything, I suggest you get these points checked.
Around the other side here, another access locker to your garage space. And then just here we have your exterior Aldi flue, this is for your boiler. Now you don't have to do anything with this, just making sure you're not spraying water directly into it when you're washing the van. Just here we have your toilet cassette.
To release the cassette, we lift up on the orange tab and slide the cassette out, nice and easy. Now to empty this off, you turn to one side, unscrew your end cap, take that off. You can then tip and push the orange button at the back. By pushing that orange button, you're allowing air to flow through your cassette to push your waste out.
This then simply slides back in here like so. If this is ever stiff or difficult to slide out of here, you've got to go inside and make sure your toilet flap is closed. If it's open and you try and pull on it, it will be stiff and if you continue to pull it, you could break it. Just behind your wheel here as well, underneath the van we've got this grey tap.
This is your waste water drain, shower and sink waste. We'll come back to that later on when we're draining the van of water. Down here you have your 240 hook-up port, this is where you're plugging in your mains cable. Now that will charge up your leisure battery and of course give you 240 power inside the van.
And then just here we have your fresh water filling point. You get that attachment which goes onto the side of the van, the other end goes into your outside tap or into a barrel. You can pick which one you want. This will then fill the van with water.
Around the front of your van, underneath your bonnet, you've got a centre catch to release your bonnet. Underneath here we have your coolant level, your brake fluid level, your power steering fluid and the washer fluid fill, oil fill and oil dipstick and a jumping point of positive which is underneath this black flap just here and negative being the bare bolt on the front here. Inside your van, just above your habitation door, we then have your main control panel and it's nice and easy to use. To turn it on, we press the power on button.
It then lights up like so. On here we have the option to run through various different things. Once they're on, we have your awning light which is your external light on in the van. In your case, it's just above the door here.
Your internal lighting, being this button just here, will activate your lights throughout your van. Your lights are then separately switched so you can switch these on and off as you need them throughout the van. Some of them may be switched on the walls and you may find that some are switched on the units themselves. Up here we also have a picture of a tap.
This is for the water pump which we'll come back to later on in the video when we're showing you how to fill up the boiler with water and pressurise the water system. You can also go through your levels with the up and down buttons here. We've got freshwater level which is just a guide, you can never take it as 100% accurate. And wastewater level, again just a guide, you can never take it as 100% accurate.
On here as well you've got fill internal tank. Now that would be if you're using a pump and barrel system to pull water into the van. Just here we then have your external temperature and your user settings which will allow you to change the clock date and time which I'm going to do just now because the clock is wrong. Down here as well we've also got your leisure battery amperage, draw and we've got your leisure battery voltage on here as well.
And then we've got back to your clock screen. Now to change your clock if it's actually wrong you press and hold the enter button while on the clock screen. 27. Now above here we have the smoke and CO2 alarms.
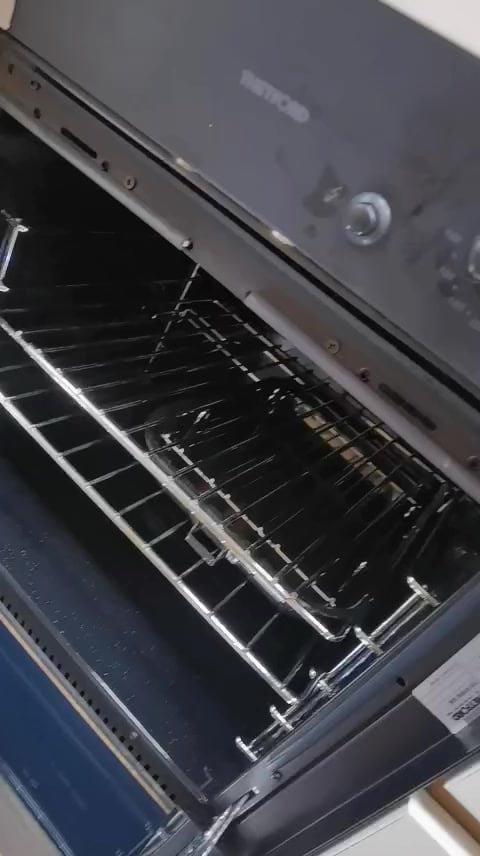
Check these for batteries by pushing the test button on each unit. I would suggest doing before every trip. I always like to come to the cooking facilities next as it allows us to run some gas up in the van before we start putting on bigger appliances like the fridge or the boiler. You do have an electric hot plate at the back here.
It's one to number six on the end knob here and you will have to be plugged into the mains for that to work. That's the 240 cable that you're plugging in with outside. The rest of your hobs are gas. So it's a quarter turn to the big flame, push down releases the gas into the chamber.
Then we want to spark with the sparker on the front of the cooker here. You hold the button down to let the thermocouple heat up and realise there's a flame there and then you can release and adjust as you need it. Back to zero for off. Same for the rest, quarter turn, push in and spark.
Hold the button down, let the thermocouple heat up and realise there's a flame there and then you can release and adjust as you need it. Back to zero for off. And then finally, quarter turn, push in and spark. Hold the button down, let the thermocouple heat up and realise there's a flame there and then you can release and adjust as you need it.
Back to zero for off. Nice and easy for your hobs there. Making sure you don't bring your glass lid back down onto hot hobs. Allow it time to cool.
We then have grill over to the right, push in releases the gas into the chamber and spark with the sparker. Hold the button down, let the thermocouple heat up and realise there's a flame there and then you can release. If it goes out like it did, we've not held it long enough. So try again.
Get some gas flowing through. Hold it down for longer. Let that thermocouple heat up and realise there's a flame there. And then you can release.
Again, not long enough. Push in, spark.